Finding the Apple ID region is necessary to top up your App Store account or even install some apps. Next, we will check the Apple ID region detection method.
In terms of security, both for the phone and the money you pay for it, and for the security of some sensitive data on the phone, you should never use someone else’s Apple ID, and you should very easily take some time and create your own personal Apple ID.
However, you may have created your Apple ID account much earlier, and since Iran is not in the list of Apple regions, Iranian users often set the Region option to other countries when creating an Apple ID, which makes it easier to forget. And we don’t know where our Apple ID region is.
How to check Apple ID region
Recognizing the country of the Apple ID becomes important when you want to buy a gift card or top up your Apple account; Because the gift card must be purchased based on the region of the Apple ID, and it is not possible to charge the United States Apple ID with the UK gift card. Follow the steps below to find your Apple ID country:

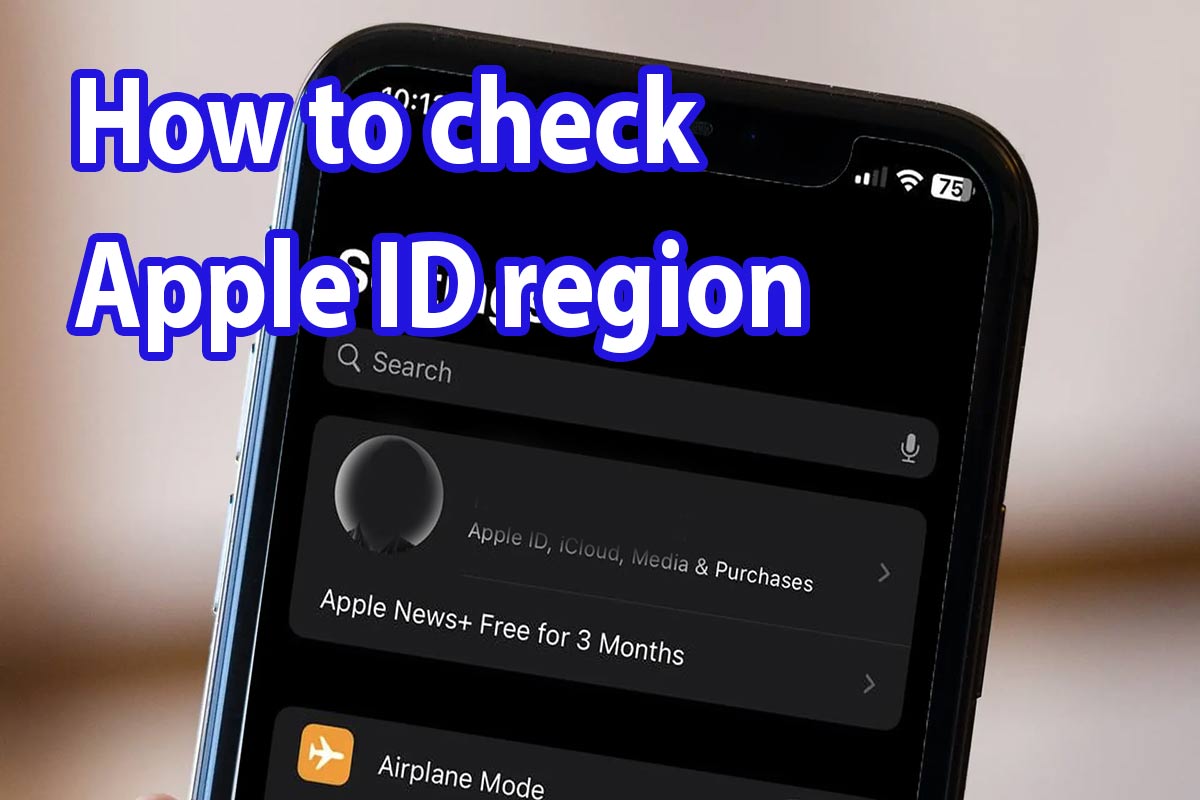
1- Enter iPhone “Settings“.
2- On the settings page, click on the Apple ID information, which is displayed with the name and surname when the Apple ID was created.
3- Now click on the “Payment & Shipping” option on the new page.
4- On this page, you can see the exact address of the Apple ID in the “Billing Address” section, and at the end of it, the name of the country and region of the Apple ID.
How to check Apple ID region on Mac
You can also follow the steps below to detect the Apple ID region on an Apple MacBook.
1- First, open the “App Store“.
2- Click on the name of your Apple ID in the “Side Bar” section.
3- Now click on “View Information“.
4- Click on “Payment & Shipping” among the menu options on the right.
5- You can see “Shipping Address” at the bottom of the page.
How to change Apple ID region
Regardless of buying a gift card based on the Apple ID region, sometimes there are applications in the App Store that are restricted in some regions, and if a user in another country wants to install it, he must change his Apple ID region.
1. Constantly changing the Apple ID region is not recommended at all and may lead to the blocking of the Apple ID account.
2. If your current Apple ID account has a charge, you need to spend it. Also, you must cancel your subscriptions.
3. Before doing anything, make sure that you have saved the latest backup version of your iPhone somewhere.
Before starting the process of changing Apple ID region, make sure that your device is connected to the Internet and that you have the new information and address to complete the form.

Step 1: Open the “Settings” app on the iPhone.
Second step: Click on your Apple ID in the first row.
Third step: On the new page, click on the “Media & Purchase” option.
Step 4: Now click on “View Account” from the displayed options to open the “Account Settings” section.
Step 5: Now on this page, click on “Country/Region” to open its menu, then click on “Change Country or Region“.
Step 6: In the opened list of country names, click on the country you want, and then click on the “Agree” button on the right corner of the T & C page. You will see a pop-up again that you have to click on “Agree” to continue.
Step 7: Select “No” in the “Payment Method” section.
Step 8: Complete the required information on the “Billing Address” form and click “Next“.
Step 9: Finally, click “DONE” to complete the Apple ID region change process.
How to change Apple ID region on Computer
The first method:
It is also possible to change the Apple ID region through a computer and the iTunes program, which includes the following steps:

1- Open the iTunes program.
2- If you haven’t logged into your Apple ID account in iTunes before, click on “Account” from the top left menu bar and then click on “Sign In” and enter your Apple ID information.
3- Now click on “Account” again from the same menu and this time after entering the account, you should see the “View My Account” or “Account Settings” option and click on it.
4- Now click on the “Change Country or Region” option on the “Account Information” page.
5- Select the new country and region.
6- You can read the terms and conditions or click “Agree” without reading as usual and confirm your choice by selecting “Agree” again in the new window.
7- Enter the new “Payment” and “Billing Address” information and click “Continue” to complete the process.
The second method:
Another way to change the Apple ID region on a computer is to use a browser and enter the appleid.apple.com website.
1- Log in to your Apple ID on the official website “appleid.apple.com”.
2- After uploading, click on “Personal Information”.
3- Now click on “Country/Region”.
4- The continuation of the process is similar to the previous methods and you can change the Apple region with the new address.
In general, the method of detecting and changing the region of Apple ID is not particularly complicated and can be done easily; But be careful that sometimes during these transfers, your Apple ID account may be blocked and you may lose access to that Apple ID. So, change the Apple ID region when necessary.